
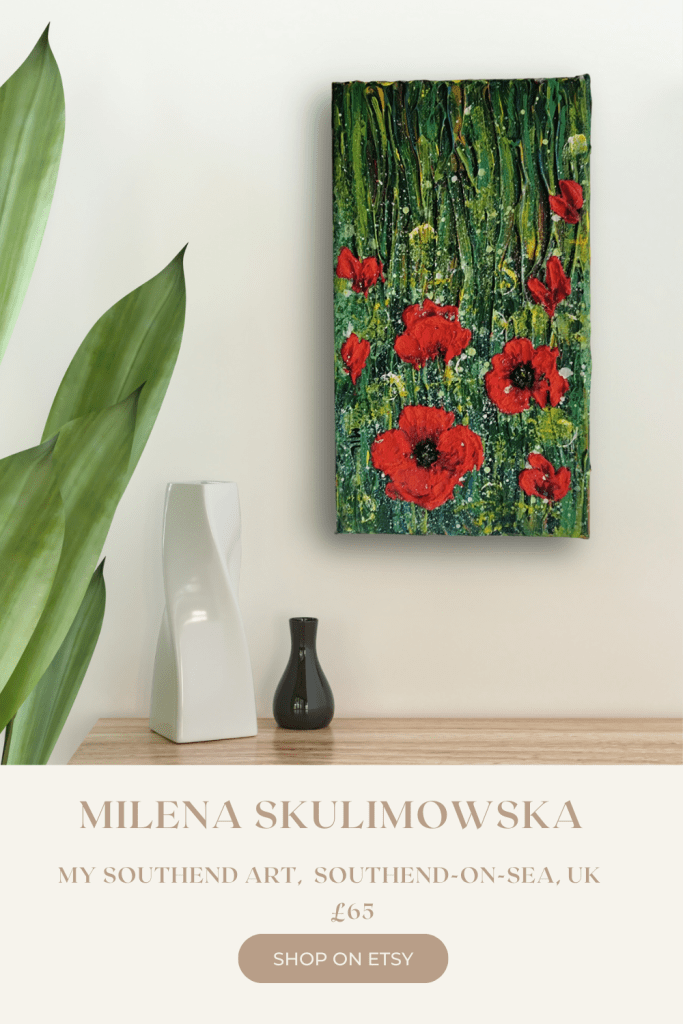
As a professional artist based in Southend-on-Sea, I’ve dedicated the last five years to honing my technique for textured floral paintings. My unique style blends traditional acrylic painting methods with contemporary texture effects, resulting in artwork that beautifully captures the delicacy and boldness of poppies. Today, I’m excited to share my complete process with you. Whether you’re an aspiring artist or an experienced painter looking to explore texture techniques, this guide will provide detailed insights into creating dimensional floral artwork.
Essential Materials
Before you start, gather your materials to ensure a smooth painting process:
- Heavy Body Acrylics:
- Cadmium Red (for vibrant poppy petals)
- Titanium White (for highlights and mixing)
- Phthalo Green (for background foliage)
- Carbon Black (for poppy centers)
- Yellow Ochre (for subtle variations)
- Tools:
- Texture medium (I recommend Golden or Liquitex)
- A selection of palette knives (various sizes)
- Small detail brushes (#0 and #2)
- Canvas (medium texture)
- Mixing palette
- Water spritzer
- Paper towels
- Protective surface covering
Step-by-Step Process
1. Preparing the Canvas (30 minutes)
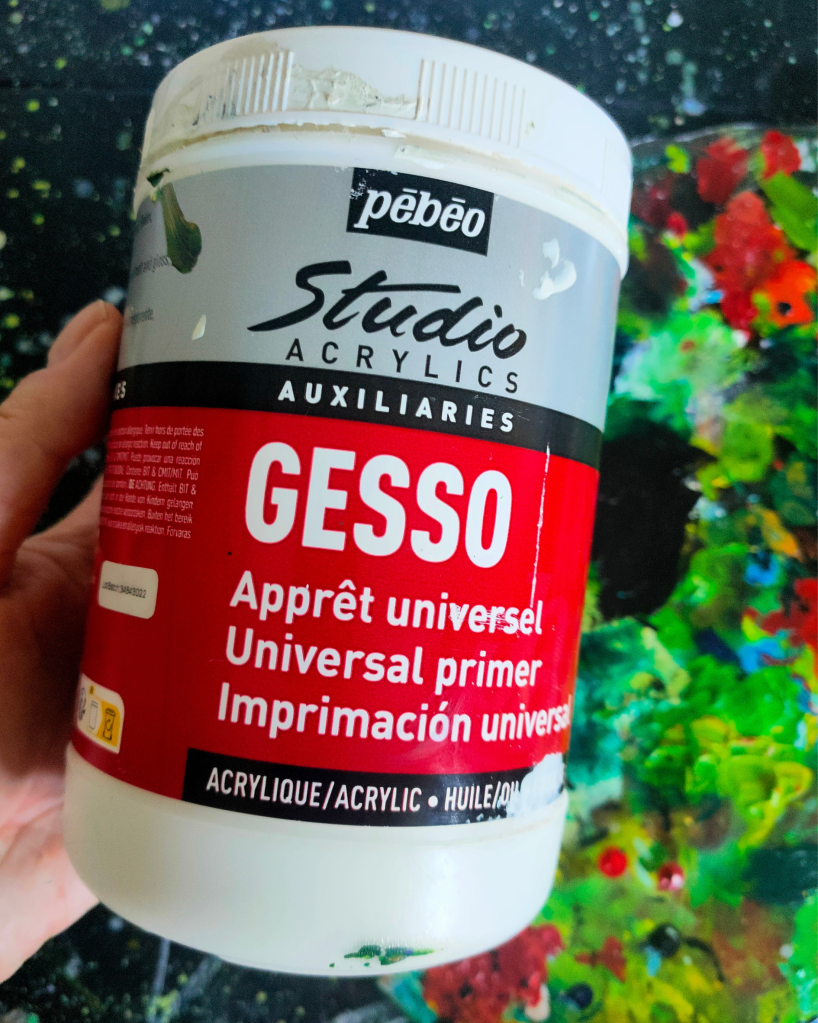
Start with a clean, primed canvas. Although some artists skip this step, I find that adding an extra thin layer of gesso creates the ideal surface for textured work. Allow this layer to dry completely before moving on.
2. Creating the Textured Background (1 hour)
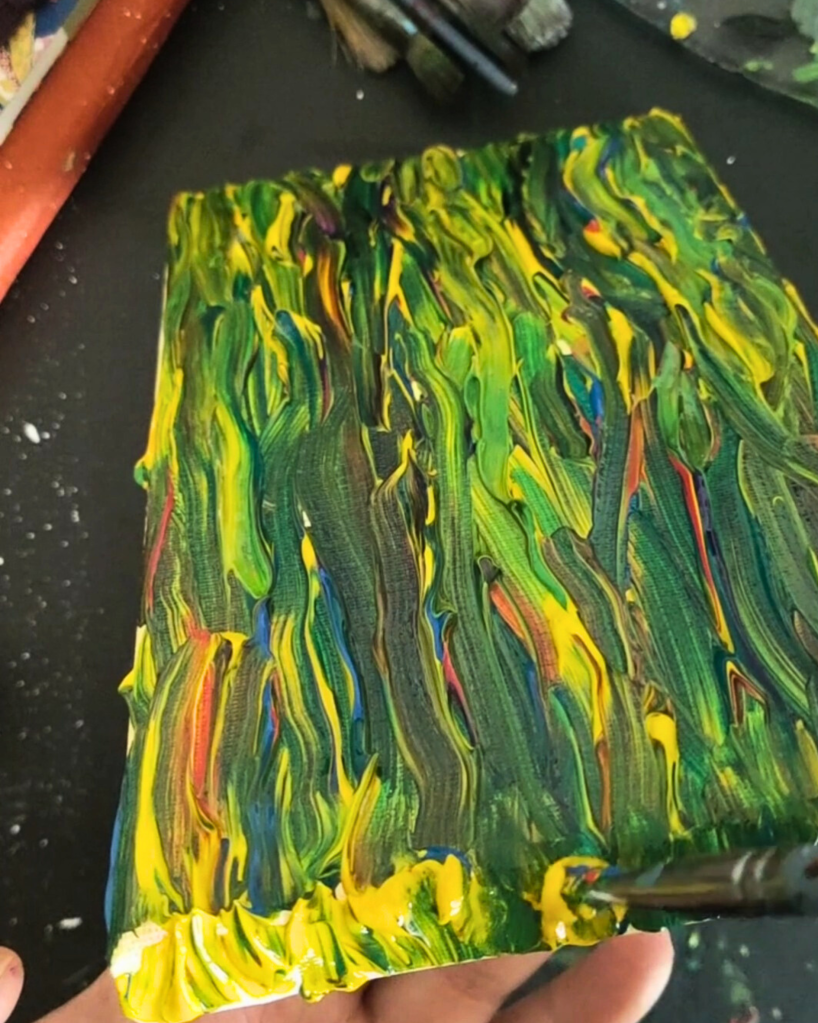
The vibrant green background requires multiple layers:
- Allow it to dry partially before spritzing with water for organic effects.
- Mix Phthalo Green with texture medium in a 1:1 ratio.
- Apply it using vertical strokes with a palette knife.
- While the paint is still wet, add yellow highlights to create depth.
Vary your pressure to introduce texture.
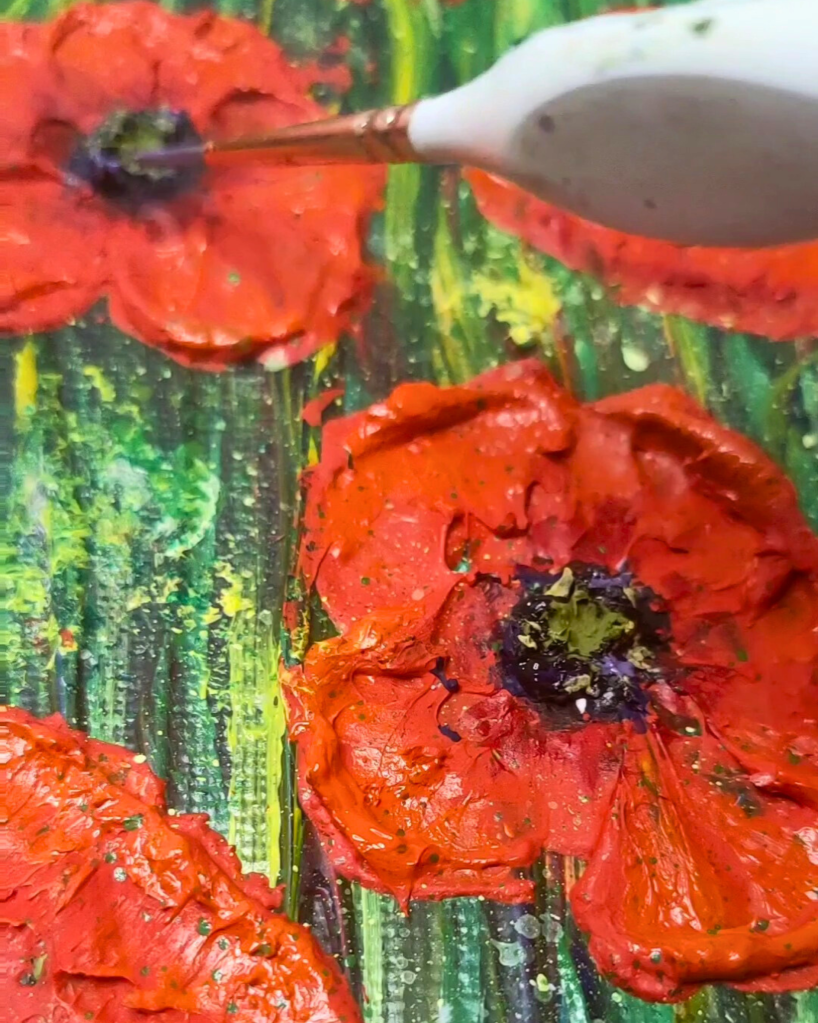
3. Building the Poppy Forms (1.5 hours)
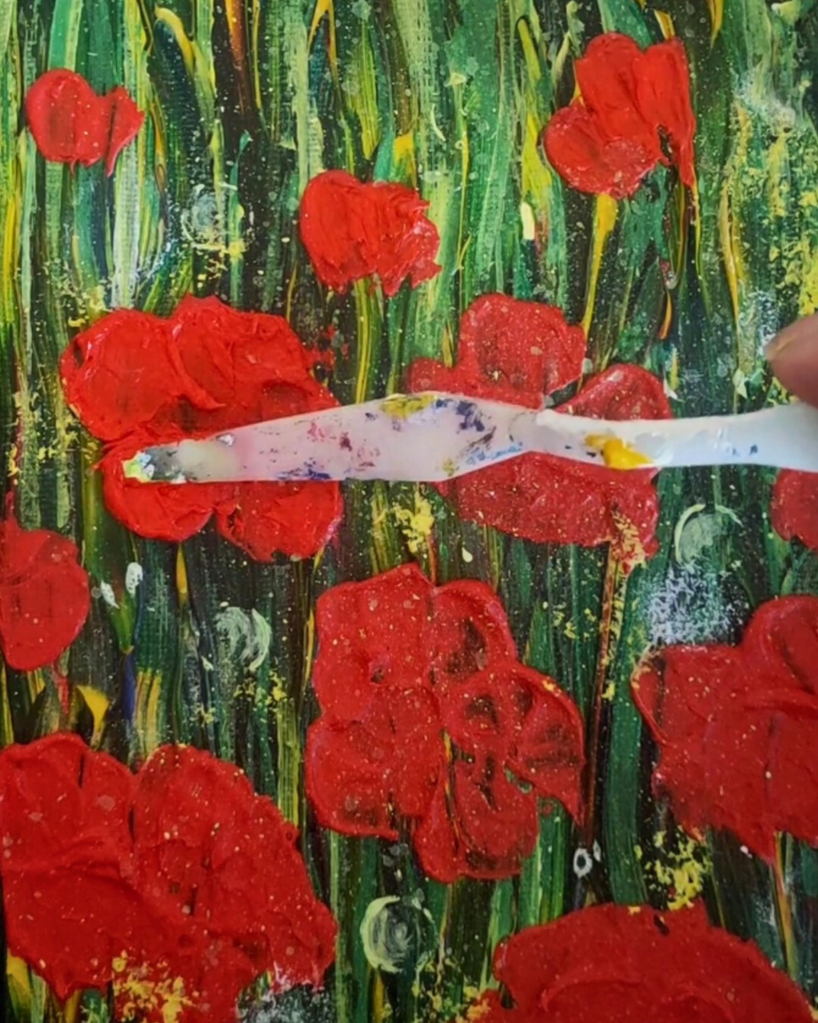
Layering is key to achieving dimensional poppies:
- Add white highlights while the paint is still wet, and layer darker reds for depth.
- Lightly sketch the basic shapes of the poppies.
- Mix Cadmium Red with texture medium and apply the base layer with a palette knife.
- Build up the petals from the center outward, pulling the paint in different directions for texture.
4. Adding the Rain Droplet Effect (45 minutes)
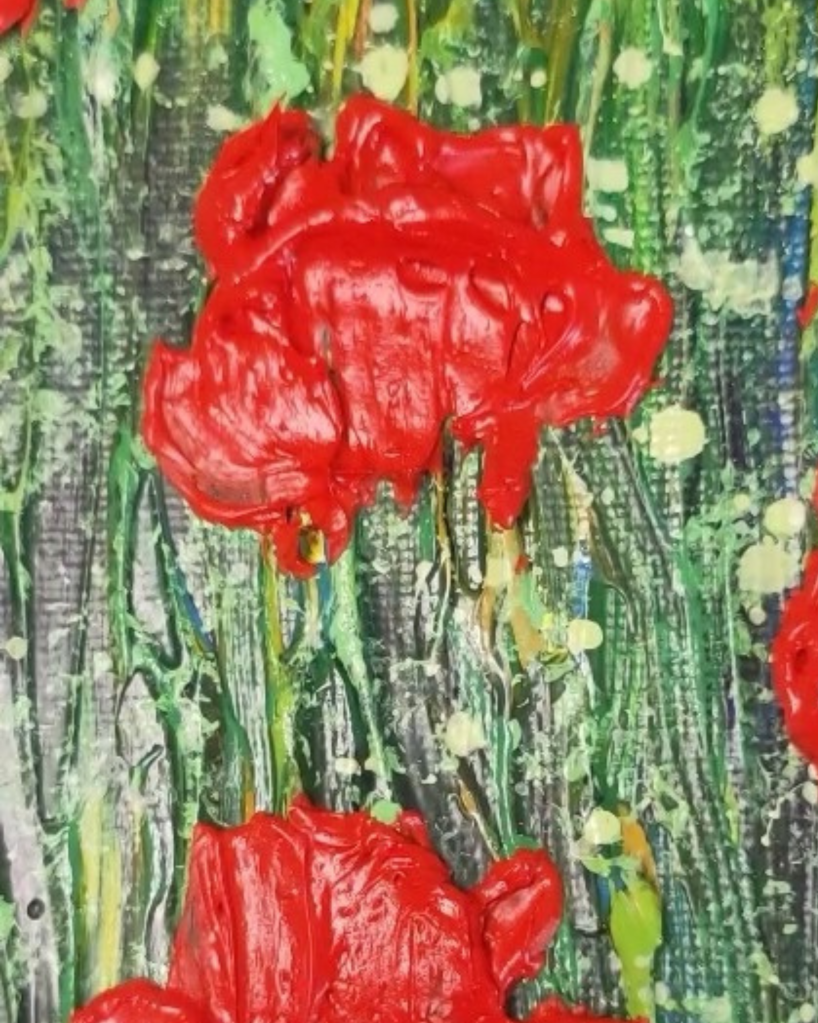
This unique feature adds a special touch:
- Allow each layer to dry fully before proceeding.
- Mix clear texture medium with a hint of white.
- Use a small palette knife to create raised dots and carefully place larger droplets on the petals.
- Incorporate smaller droplets in the background to create natural patterns.
5. Final Details and Highlights (1 hour)
The finishing touches breathe life into the painting:
- Add dark centers to the poppies and subtle yellow highlights.
- Refine the edges of the petals and enhance the texture contrasts.
- Don’t forget the final water droplet highlights and sign your piece!
Tips and Techniques
Working with Texture Medium
- Always mix on a clean palette.
- Test the consistency before applying.
- Work in small sections and keep your tools clean between colors.
Color Mixing Secrets
- Create depth with various shades of red and use complementary colors for shadows.
- Keep a color journal for reference and test colors on scrap canvas.
Creating Depth and Dimension
- Layer thin paint over thick, using light and shadow effectively.
- Vary texture heights and create natural color transitions.
Troubleshooting Common Challenges
Managing Drying Times
- Use a hair dryer for quicker drying.
- Strategically plan your layers and consider humidity effects.
Working with Thick Paint
- Maintain proper consistency and clean tools frequently to prevent unwanted mixing.
Conclusion
Creating textured poppy paintings requires patience, practice, and keen attention to detail. Through these techniques, you can craft stunning, dimensional artwork that truly captures the beauty of these beloved flowers. Remember, each artist develops their own style, so use these guidelines as a starting point for your artistic journey.
Call to Action
Ready to embark on your textured painting adventure? Visit my Etsy shop to explore available original artwork, or follow me on Instagram and TikTok for daily updates and behind-the-scenes content. I also offer commissioned pieces and am eager to discuss custom artwork ideas!
Have questions about this technique? Leave a comment below or reach out through my social media channels—I love connecting with fellow artists and art enthusiasts!

Leave a comment